Roof Replacement
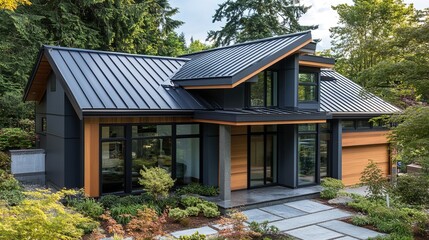
Roof Replacement in Florida
Why You Might Need a Roof Replacement
Florida’s extreme climate—including intense UV radiation, high humidity, and hurricanes—can rapidly degrade roofing materials. Shingles can curl, granules shed, and leaks develop, compromising your home’s safety and energy efficiency. Most roofs last 15–25 years, but extreme weather often accelerates the need for replacement. Replacing your roof can prevent mold, reduce energy costs, and meet insurance requirements.
Signs Your Roof Needs Replacement
- Cracked, curling, or missing shingles from wind or UV damage
- Significant granule loss (bald spots)
- Rust or denting in metal roofs from storms
- Cracked or damaged flashing
- Moss or algae growth
- Interior water stains in the attic, especially for roofs older than 15–20 years
Roofing Options in Florida
Clay Tiles
- Pros: Beautiful aesthetic, long lifespan, excellent wind resistance
- Cons: Heavy, higher cost, complex installation
Concrete Tiles
- Pros: Extremely durable, energy-efficient, excellent in high heat
- Cons: Heavy, may require structural reinforcement
Asphalt Shingles
- Pros: Budget-friendly, lightweight, easy installation
- Cons: Prone to UV fading, may need frequent repairs
Metal Roofing
- Pros: Long lifespan, energy-efficient, superior wind resistance
- Cons: Higher upfront cost, louder during heavy rain unless insulated

Composite Shingles
- Pros: Durable, UV-resistant, versatile appearance
- Cons: Higher cost than traditional shingles
Roof Replacement Process
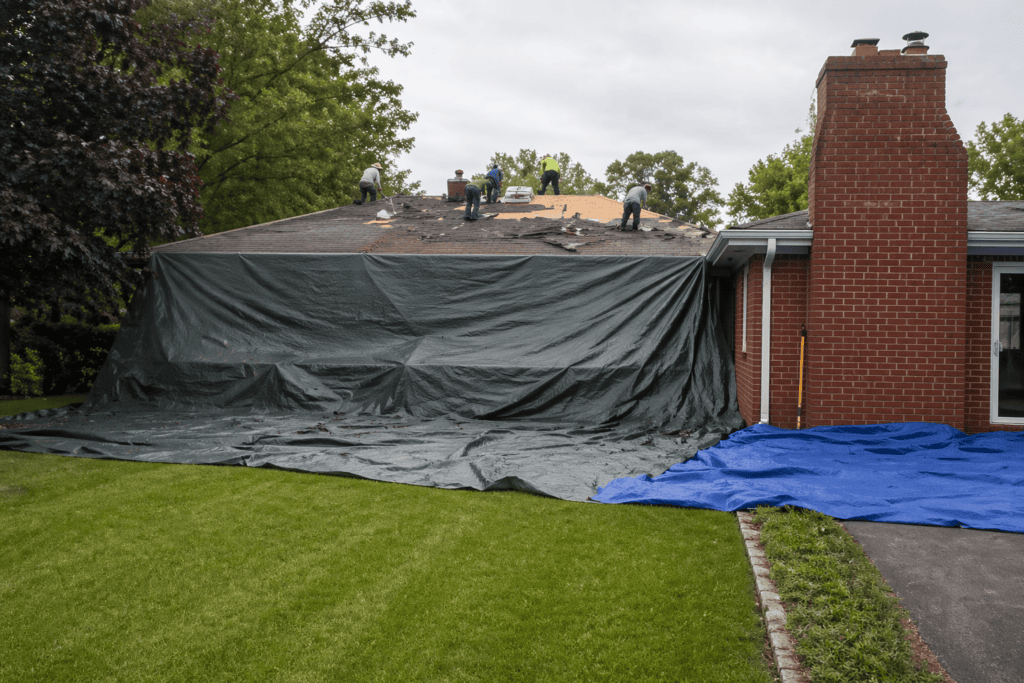
Step 1: Property Preparation
Puma Roofing will thoroughly prepare your property to ensure cleanliness. Utilizing tarps we protect the landscaping, windows, doors, gutters, and outdoor furniture, ensuring a clean, safe workspace with minimal disruption. We ask to not have any vehicles in the driveway the day we start on your roof.
Step 2: Roof Tear-Off
Once we are prepared to start we begin to remove the old roof stripping everything off. This includes all the old shingles, felt or synthetic underlayment, all the nails, flashing, plumbing stacks, and vents are carefully removed and placed in a dumpster for proper disposal.
Step 3: Plywood Inspection
This is a key step after the roof tear-off where Puma Roofing thoroughly checks the roof deck (the plywood sheathing) This step determines whether the structure underneath is still solid—or needs repair before new shingles go on. Roof Decking is checked for rot, cracks, delamination, dark stains, soft spots and any crumbling wood or structural issues. Damaged plywood is replaced to meet or exceed Florida building code standards. This is typically caused by long term leaks and trapped moisture.
Step 4: Waterproofing Installation
During this step a protective barrier is added over the plywood deck to stop water from getting into your home, even if shingles fail or wind-driven rain gets underneath. Think of it as your roof’s backup defense system. We use only premium waterproof underlayment that is high temperature rated and self-adhering. It is applied along with flashing around chimneys, vents, and skylights to protect against water intrusion. Also referred to as Ice & water shield (peel-and-stick membrane)
Step 5: Drip Edge Installation
Drip edge installation is a key step in a new roof installation in Florida, especially because of heavy rain, wind-driven rain, and hurricane requirements. Drip edge protects the roof edges, directs water into gutters, and prevents damage to the decking and fascia. Drip edge is placed under the underlayment at the eaves which ensures water flows off the roof and into the gutter. Nails are placed every 8–10 inches (or per Florida Building Code requirements) The Drip edge on the side edges goes over the underlayment which protects against wind-driven rain entering the edges. Corners overlap properly to prevent water penetration and the ends are cut and bent neatly for a clean finish. The drip edge is like a rain gutter built into the roof edge. Even if the best shingles fail, the drip edge ensures water is guided safely away from the home.
Step 6: Synthetic Underlayment
Installation of synthetic underlayment is a precise step in roofing that creates a continuous water-shedding layer over your plywood before new shingles are installed. Here’s how it’s done. First, the plywood is clean and prepared and the waterproofing and bottom drip edge have been property installed. We then start at the bottom edge of the roof rolling out the underlayment. It’s rolled out horizontally across the roof maintaining level and flat with no wrinkles or air pockets. We work our way up the roof overlapping each row. For high wind areas clients can also use a specialized tape for all the seams. The underlayment is secured using fasteners and cap nails. After the underlayment is installed the drip edge is installed along the sided of the house (rake). This locks everything down and best protects the roof from the wind.
Step 7: Venting & Plumbing Flashing
Installing venting and plumbing components during a new roof is all about sealing every opening in your roof so air can flow properly and water can’t get in. These are some of the most leak-prone areas if done wrong—so the details really matter. Flashing is layered under and over shingles correctly so water sheds away. Puma Roofing meticulously installs new plumbing and venting ensuring they are sealed correctly with our multi point inspection process.
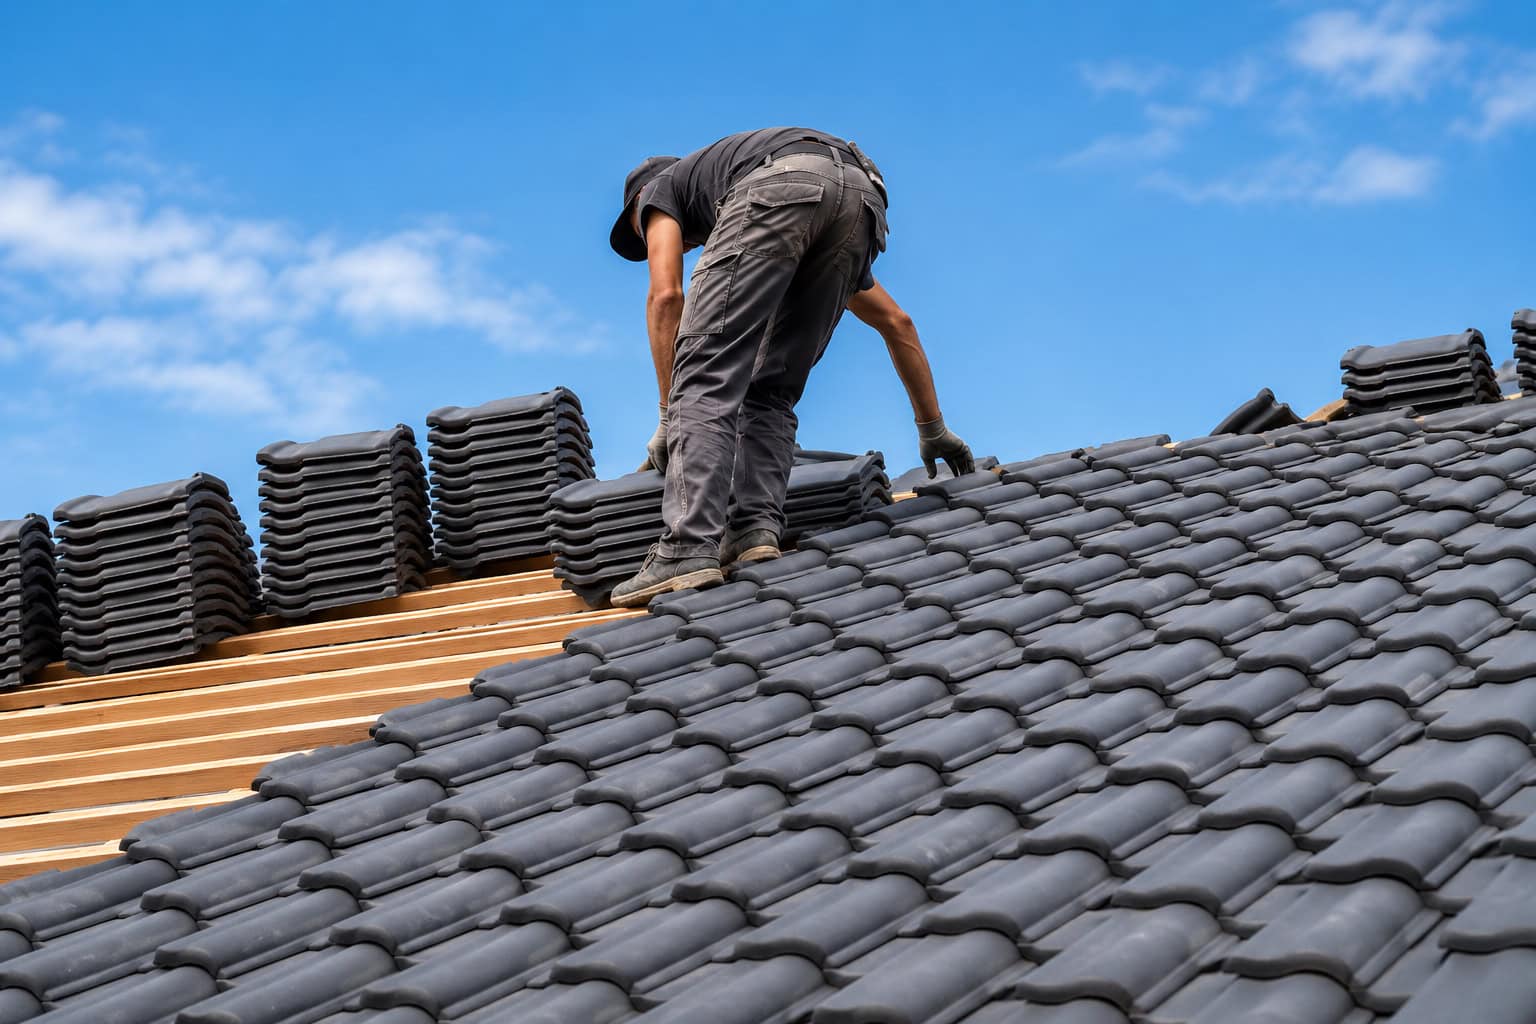
Step 8: New Roof Installation
Installing a new roof is a precise process, and we take great pride in our work. First, starter shingles are installed along the edges of the roof to help prevent wind uplift. Next, the selected roofing materials are installed in rows, with each row overlapping the one below and nailed according to a precise pattern. At Puma Roofing, we are committed to top-quality workmanship on every project. All materials are installed using Florida Building Code–approved methods, including High Velocity Hurricane Zone (HVHZ) fastening requirements for maximum durability and storm protection.
Step 9: Attic Ventilation
Attic ventilation is a critical part of a roof installation that allows fresh air to enter and hot, moist air to escape from your attic. Done correctly, it helps your roof last longer, prevents mold, and keeps your home cooler—especially important in hot, humid places like Florida. Proper airflow is installed to prevent moisture buildup and improve energy. Soffits Installed unde the roof overhang pull in fresh air from outside while ridge vents place near or at the top of the roof allow hot air to escape passively
Step 10: Hip & Ridge Cap Installation
Ridge and cap installation is the final step of a shingle roof, it seals the very top (the ridge) and protects one of the most vulnerable areas from wind and water. After all the field shingles are installed, the top ridge line is exposed Thicker and pre-cut Ridge vent shingles designed to bend over the ridge are placed over the opening and secured with long nails into the roof deck which allows hot attic air to escape. Start at one end of the ridge with each cap shingle being placed over the ridge nailed properly on both sides.
Step 11: Final Inspection & Cleanup
The final inspection and cleanup osthe last and most critical steps of a new roof installation. Puma Roofing will triple check top make sure your roof is safe, code-compliant, and ready to protect your home, while leaving your property clean and hazard-free. Puma Roofing has a comprehensive multi point detailed checklist making sure your roof is built with only the highest standards of quality. We will first check the shingles making sure they are aligned, properly nailed, and not damaged. We check the Flashing around chimneys, vents, and valleys confirming it is sealed correctly as well as confirming the Ridge and hip caps are secure. We will check that all Plumbing and Roof vents are flashed and sealed properly. We verify the synthetic underlayment is properly overlapped and fastened as well as the waterproofing membrane being installed in the proper locations. . We perform a final Safety and structural check making sure the decking is solid with no soft spots or loose materials and the proper slope is maintained.
Compliance with Florida Building Code
- HVHZ (High Velocity Hurricane Zone) fastening requirements are met
- Drip edges installed correctly at eaves and rakes
- Proper nail patterns and spacing followed
Cleanup: A clean site ensures safety, aesthetics, and homeowner peace of mind: Puma Roofing will remove all the old shingles and debris from the property in our dumpster. We use a magnetic sweep to pick up the stray nails in the yard and driveway. We will check the gutters and downspouts to make sure no roofing debris blocks the water and reattach or clean any gutters if necessary. We will them perform a final property inspections checking the landscaping, siding and driveway for any damage. Any tarps ladders and tools are removed. Finally we ask to perform a customer walkthrough where we will explain all the new features of your roof showing you the warranties and maintenance tips to keep it looking great for years to come. We will also go over with you our Club Puma membership benefits for your long term peace of mind
We inspect fasteners, remove debris, use a magnet to collect nails, and leave your home spotless. 100% customer satisfaction.
Before Your Roof Replacement
- Clear the driveway of vehicles
- Remove outdoor furniture
- Cover delicate plants and landscaping
- Keep pets indoors during installation
- Remove fragile items from walls to avoid vibration damage
Pro Tip: Use your roof replacement to save on insurance premiums. A free wind mitigation inspection in certain areas can demonstrate improved hurricane resistance, often leading to discounts on your homeowner’s policy.
Contact Puma Roofing for a Free Roof Replacement Quote
Puma Roofing provides transparent, no-obligation estimates, showing all options and delivering the best value for your roof replacement. Protect your home, improve energy efficiency, and enhance curb appeal with a roof built to withstand Florida’s toughest conditions.
Call Puma Roofing today for a free No Obligation Consultation!
OUR PROCESS
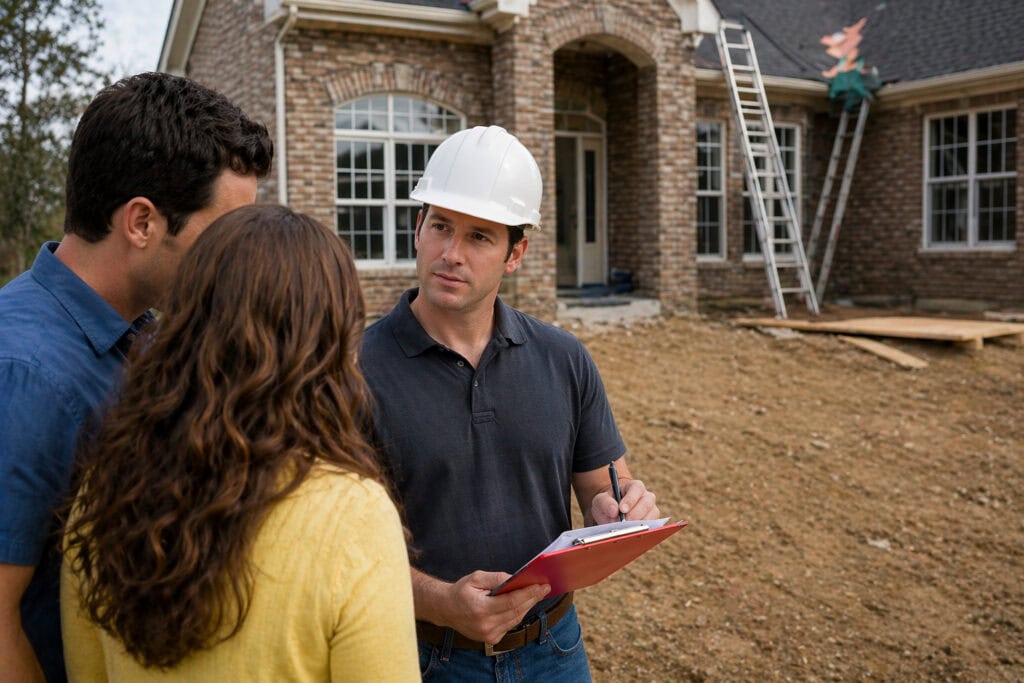
Initial Consultation
We begin by listening closely to your roofing needs and inspecting your property to fully understand the scope of the project and any specific challenges.

Estimate and Planning
Next, we provide a detailed, transparent estimate and develop a tailored plan that fits your budget, timeline, and preferences.
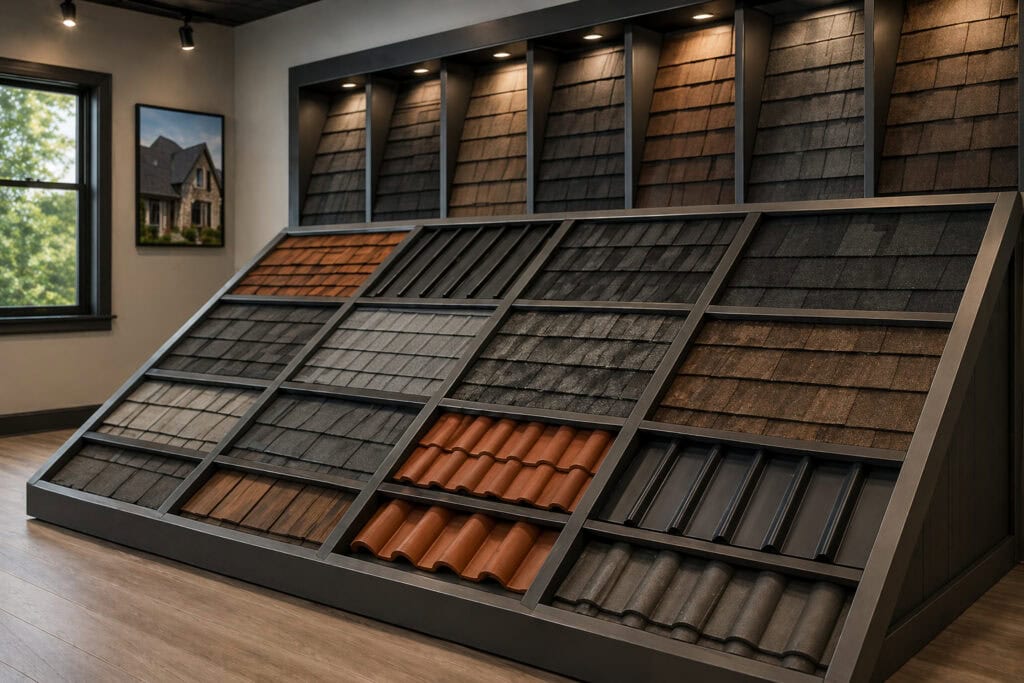
Material Selection
We guide you through selecting the best quality roofing materials that balance durability, aesthetics, and cost-effectiveness to suit your home or business.
Installation / Repairs
Finally, our skilled team performs professional installation or repairs with precision and care, ensuring your roof is built to last and exceeds your expectations.
Frequently Asked Questions
Roofing Assessment & Replacement
How do I know if my roof needs to be repaired or replaced?
- If your roof has several leaks, missing or curling shingles, or is over 20 years old, a replacement is likely needed. Minor damage like a few missing shingles or small leaks can usually be repaired.
Will my roof need replacing if I get it repaired?
- Most asphalt shingle repairs do not mean your roof is at the end of its life. Frequent repairs may indicate your roof is aging, but single repairs typically last for the life of the roof.
How often should I get a roof inspection?
- At least once a year, especially before and after hurricane season.
Do you offer emergency roof repair?
- Yes! We provide 24/7 emergency repairs for storm damage or urgent leaks.
How long does a new roof installation take?
- Most residential installs are completed in 1–3 days, depending on roof size, complexity, and materials.
Roofing Materials & Florida Climate
What roofing materials are best for Florida’s climate?
- Asphalt Shingles: Affordable, versatile, and suitable for most homes.
- Metal Roofing: Durable, long-lasting, reflective for energy efficiency, and resistant to storms.
- Tile Roofing (Clay or Concrete): Long-lasting, visually appealing, and weather-resistant.
- Wood Shakes: Provide a natural look, require maintenance, and last for decades if treated properly.
- Commercial Roofing (PVC, EPDM): Common for flat roofs, offering durability and leak resistance.
What asphalt shingle system do you install?
- We use Owens Corning shingles, backed by industry-leading warranties for quality and durability.
Can I install a metal roof over my old roof?
- Yes! This process is called reroofing, and we can guide you through it during your consultation.
Financing & Insurance
What is the typical down payment to finance a roof?
- Down payments vary by plan: some require 20% upfront, while others offer 100% financing with no upfront cost.
If I have bad credit, can I still get approved for financing?
- Yes, most homeowners can finance a roof replacement. A co-signer with good credit can help secure better rates.
Do you offer financing for asphalt shingle roof installations?
- Yes, Puma Roofing provides budget-friendly financing options to fit your needs.
Can I file an insurance claim for roof damage?
- Yes, if the damage is caused by insured perils such as storms, wind, or hail. We can assist with inspections and documentation.
Will my homeowners insurance cover roof repairs or replacement?
- Coverage depends on your policy and the cause of damage. Storm-related damage is often covered, while wear and tear is not. Our licensed adjuster can review your claim and work directly with your insurer.
Roof Maintenance & Longevity
What roofing maintenance should I perform regularly?
- Clean gutters, inspect for damaged shingles, check for leaks, and trim overhanging branches.
What maintenance do shingle roofs need in Florida?
- In addition to regular inspections: clean gutters, remove algae or mold, and replace damaged shingles promptly.
What is the average lifespan of a roof in Florida?
- Asphalt shingles: 15–20 years
- Metal roofs: 40–70 years
- Tile roofs: 50+ years (clay tiles can last up to 100 years)
Consultation & Installation
Who should be present for the consultation?
- The main decision-maker(s) should attend to ensure they receive all important details about materials, options, and budget.
How do I prepare my home for a roof replacement?
- Clear your driveway and yard, remove vehicles, cover outdoor furniture, and notify neighbors if possible.
What should I expect during the roofing process?
- Expect noise, debris, and workers on-site. We take precautions to protect your property and minimize disruptions.
How long does an asphalt shingle roof installation take?
- Asphalt shingles are easier to install than many materials, so projects are completed quickly and efficiently. We provide a full timeline and updates throughout your project.
Licensing & Service Areas
Are Puma Roofing crews licensed and insured?
- Yes! All crews are licensed, insured, and experienced. We do not use unlicensed subcontractors.
What areas in Florida do you serve?
- We proudly serve Central and Northeast Florida. Visit our Service Areas page for full coverage.
Upgrade Your Roof Today and Enjoy Special Savings
Take advantage of our limited-time offers to enhance the safety, beauty, and energy efficiency of your home or business. Whether you’re looking for a full roof replacement, energy-saving insulation upgrades, or efficient solar fans, Puma Roofing has you covered with competitive pricing and flexible financing options. Don’t wait until small issues become costly problems.
- $350 Off Shingle Repair Valued at over $3000
- $500 Off a Tile Roof Repair Valued Over $4000
- $1000 Off Shingle Replacement
- $5000 Off Tile Roof Replacement
- Free Subscription To Puma Club
- Special Discounts For Police/Fire /Teachers Veterans / First Responders
- Free Luxury Shingle Upgrade
Contact us today to schedule your free consultation and unlock special discounts designed to fit your budget. Upgrade now and experience the peace of mind that comes with a durable, expertly installed roof.
SERVICE AREAS
ORLANDO REGION
- Orange County
- Seminole County
- Lake County
- Polk County
- Osceola County
- Brevard County
- Volusia County
- Flagler County